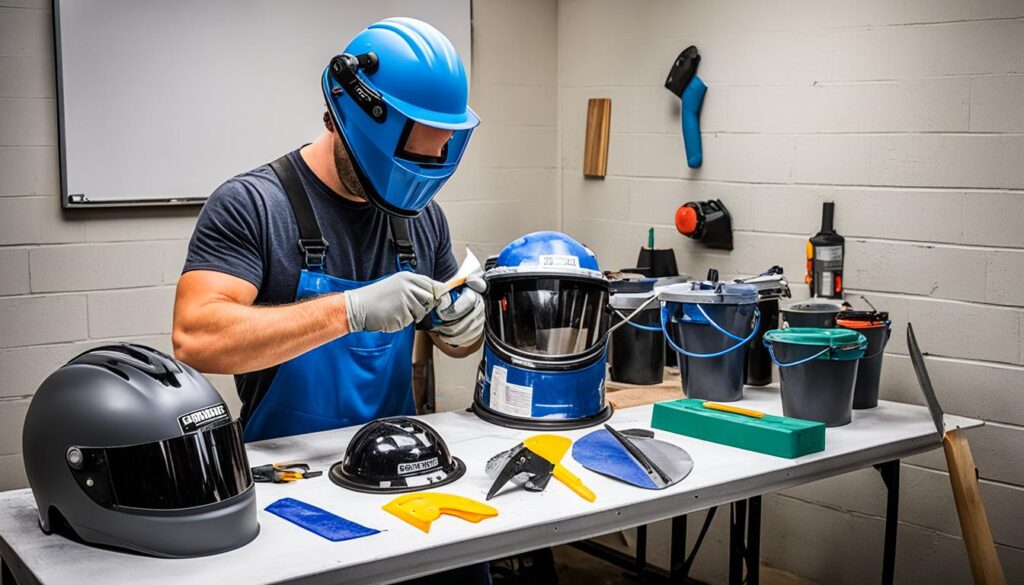
Picture this: You’re getting ready for your favorite outdoor activity, feeling the excitement coursing through your veins. But there’s something missing. Something that would make you stand out from the crowd, reflecting your unique personality and style. That’s where a homemade helmet comes in.
With a DIY bucket helmet, you can design a safety headgear that is not only functional but also an expression of your creativity. Imagine the satisfaction of wearing a helmet that you crafted with your own hands, knowing that it’s one-of-a-kind and made just for you.
Whether you’re an avid airsoft player, a cosplayer, or simply someone who wants to add a personal touch to their protective gear, a DIY bucket helmet is the perfect solution. Not only will it protect your head during your adventures, but it will also make you feel confident and empowered.
Materials and Preparation
To embark on your journey of creating a custom bucket helmet, you’ll need a few key materials. Take note of these essentials to ensure a successful and sturdy end result:
1. Buckets
Acquire two buckets of your preferred size and style for the helmet’s main structure. Consider the functionality and aesthetic appeal when making your selection.
2. Hard Hat
A hard hat serves as the foundation for your DIY helmet. Choose one that fits securely and provides adequate protection.
3. Cardboard Sheet
Obtain a cardboard sheet with a thickness of approximately 1/16 inch. This will be used to create the necessary templates.
4. White Glue
Secure the various components together using a reliable white glue that offers strong adhesion.
5. Sandpaper
Prioritize safety and comfort by smoothing out any rough edges and creating a refined finish on your helmet. Sandpaper of various grits will be helpful during this process.
6. Hot Glue Gun
A hot glue gun will be indispensable for joining the different parts of your helmet securely and efficiently.
7. Lightweight Spackling Paste
Fill in any gaps or imperfections on the helmet’s surface by applying lightweight spackling paste. This will ensure a smooth and seamless appearance.
8. X-Acto Knife
Precision is key when cutting and shaping the cardboard sheet. An X-Acto knife will provide the necessary control and accuracy.
9. Minwax Polycrylic Sealer
Protect your helmet from wear and tear by applying a coat of Minwax Polycrylic sealer. This will help maintain its durability and longevity.
With these materials at your disposal, you’re ready to proceed to the construction process. Section 3 will guide you through the step-by-step instructions on how to assemble your custom bucket helmet.
Construction Process
The construction process is a crucial step in creating your DIY protective headgear, the custom bucket helmet. Follow these step-by-step instructions to ensure a safe and effective construction:
1. Prepare the Base
Begin by cutting the hard hat to the desired size and shape. Use sandpaper to smooth out any rough edges and create a clean surface for further construction.
2. Trace and Cut Out Templates
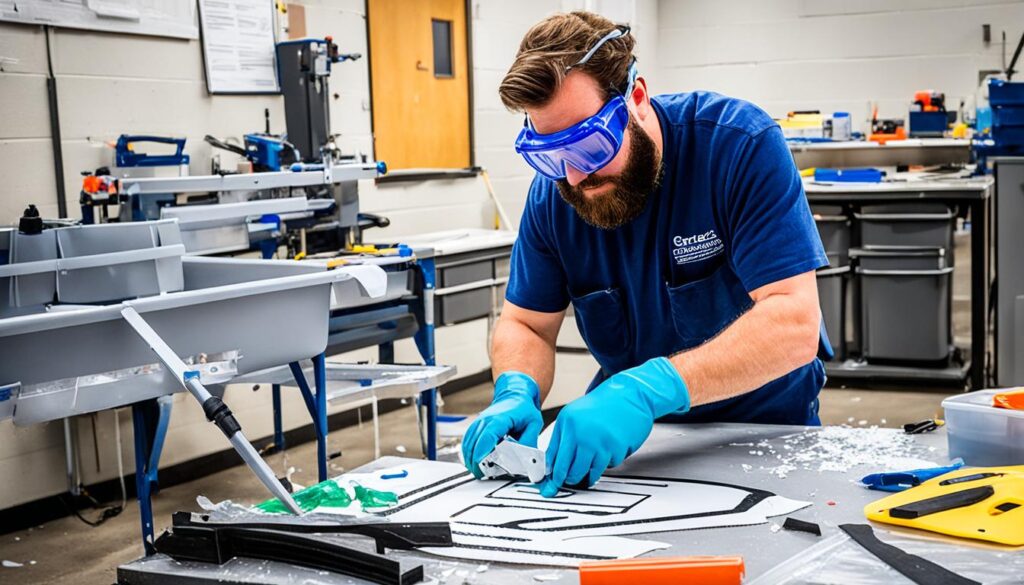
Using the cardboard sheet, trace and cut out the templates for the different parts of the helmet. These templates will serve as guidelines for cutting and shaping the materials.
3. Glue the Pieces Together
Apply white glue to the edges of the cardboard templates and carefully position them on the hard hat base. Press them firmly to ensure a secure bond between the materials. Allow the glue to dry completely before moving on to the next step.
4. Form the Dome Frame
To create the dome shape of the helmet, carefully bend and shape the cardboard pieces. Pay attention to the contours of the head to ensure a comfortable fit. Use a hot glue gun to secure the cardboard in place.
5. Fill in Gaps
Inspect the helmet for any gaps or areas that need additional support. Apply lightweight spackling paste to fill in these gaps and create a smooth surface.
6. Add Additional Details
To give your custom bucket helmet a personalized touch, consider adding additional details like ears or a visor. Cut these pieces from the cardboard and attach them using the same gluing technique as before. This will further enhance the visual appeal and functionality of your helmet.
7. Apply a Sealer
Once all the pieces are securely attached and the helmet is fully constructed, it’s time to protect it for long-lasting use. Apply a coat of Minwax Polycrylic sealer to safeguard the helmet from moisture and everyday wear and tear.
With the construction process complete, you now have a DIY protective headgear, a custom bucket helmet, ready for use in various activities like cosplay, airsoft, or any other pursuits that require reliable head protection.

Conclusion
Creating your own DIY bucket helmet is a cost-effective and enjoyable way to have a personalized piece of protective headgear. This project allows you to express your unique style while ensuring your safety during activities like cosplay, airsoft, or any other activity that requires head protection.
By following the step-by-step instructions provided in this guide, you can gather the necessary materials and create a functional and customized bucket helmet. Whether you choose to add specific details, colors, or designs, your DIY helmet will reflect your individuality and creativity.
A homemade helmet not only provides practical protection but also offers a sense of accomplishment and satisfaction. You can be confident in the quality and uniqueness of your DIY bucket helmet, knowing that it was crafted with your own hands to meet your specific preferences.
So, don’t wait any longer! Start your DIY bucket helmet project today and enjoy the process of creating a one-of-a-kind piece of headgear that is both functional and a true reflection of your personal style.
Source Links
- https://speartacticalreviews.wordpress.com/2015/07/30/diy-operators-helmet/
- https://mandalorianmercs.org/forum/index.php?topic=96098.0
- https://www.instructables.com/How-to-make-a-cardboard-costume-helmet/

Meet James Smith, affectionately known by friends as ‘Biker Smith’, your go-to expert at ‘Best HD Helmet Camera’. At 35, living in the USA, James embodies the spirit of adventure. His life is a thrilling ride, powered by his Harley Davidson Softail and BMW S 1000 RR, with his girlfriend as his favorite travel companion. A software developer by profession, James’s heart beats for the open road, making him a full-time traveler at heart. His passion for biking and technology merges seamlessly on this platform. Recognizing a gap in discussions around helmet cameras, he founded this blog to educate and inspire fellow enthusiasts. His mission? To elevate your riding experience with the best HD helmet camera insights, backed by firsthand experiences, rigorous testing, and a genuine love for the ride. Trust James to guide you through the world of helmet cameras, where quality, innovation, and safety ride together.