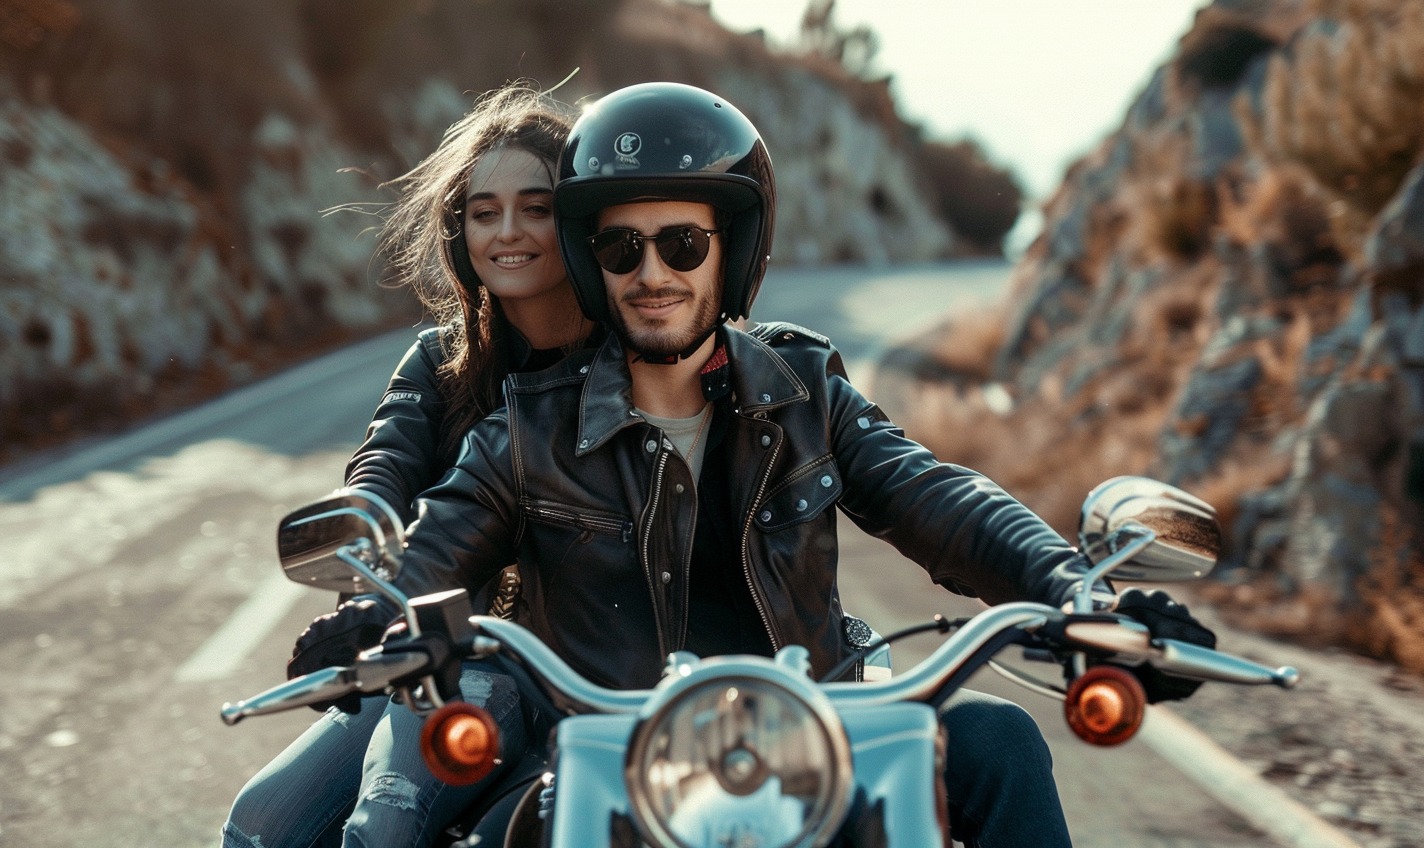
Are you tired of your helmet camera footage looking amateurish? Do you want to take your videos to the next level and make them look like they were edited by a pro? If so, you’ve come to the right place. In this article, we will share expert tips and techniques for editing your helmet camera footage like a pro. Whether you’re an adrenaline junkie capturing extreme sports or an adventurer documenting your travels, these editing tips will help you elevate your videos and make them stand out from the crowd.
So, grab your helmet camera and get ready to transform your footage into cinematic masterpieces. Let’s dive in!
Key Takeaways:
- Learn professional editing techniques to enhance your helmet camera footage
- Choose the right editing software for the job
- Import and organize your footage for easy access
- Experiment with effects and filters to make your videos stand out
- Export and share your edited videos to showcase your adventures
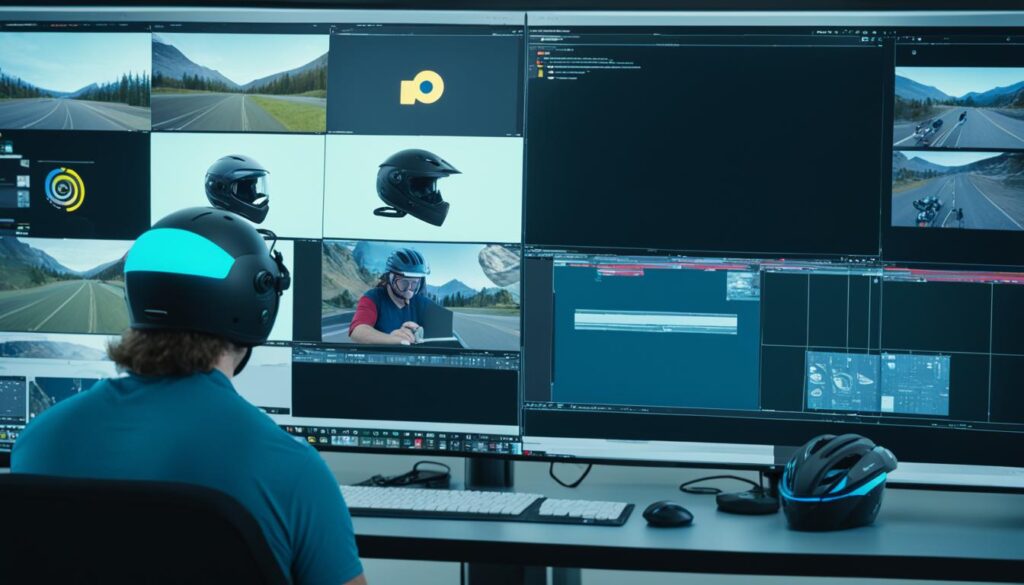
Choosing the Right Editing Software for Helmet Camera Footage
The first step in editing your helmet camera footage is selecting the appropriate software to bring your videos to life. With various options available, such as Movie Studio Plus and GoPro Studio, it’s essential to choose software that aligns with your editing needs and preferences.
Consider the following factors when deciding on the ideal helmet camera editing software:
- Ease of use: Opt for software that offers a user-friendly interface, making it intuitive and straightforward to navigate. This ensures a seamless editing experience, even for beginners.
- Compatibility: Check if the software is compatible with your specific helmet camera model. Some software may offer enhanced features and functionalities exclusive to certain camera brands.
- Ability to handle high-resolution footage: As helmet cameras capture high-quality videos, it’s crucial to choose software that can handle the demanding requirements of such footage. Look for software that can process and edit high-resolution videos without compromising on performance.
- Features and capabilities: Evaluate the software’s features and capabilities to determine if they align with your editing goals. Look for features such as video stabilization, color correction, audio editing, and special effects to enhance your footage.
- Availability of support and updates: Ensure that the software you choose has reliable technical support and receives regular updates. This ensures that you remain up-to-date with the latest editing tools and fixes any issues you may encounter.
By considering these factors, you can find the ideal helmet camera editing software that enables you to unleash your creativity and achieve professional results.
| Software | Ease of Use | Compatibility | High-Resolution Support | Features | Support & Updates |
|---|---|---|---|---|---|
| Movie Studio Plus | ⭐⭐⭐⭐ | ✔️ | ✔️ | ✔️ | ✔️ |
| GoPro Studio | ⭐⭐⭐ | ✔️ | ✔️ | ⭐⭐ | ✔️ |
| Other Options | ⭐⭐⭐ | ✔️ | ✔️ | ⭐⭐⭐ | ✔️ |
Importing and Organizing Your Helmet Camera Footage
Before you begin editing your helmet camera footage, it’s important to import and organize your files. This step ensures that your footage is easily accessible and saves you time during the editing process.
Create folders for different projects or categories, and divide your footage accordingly. This allows for efficient organization and easy retrieval of specific clips when needed. For example, you can create separate folders for different sports activities or travel destinations.
Use a reliable file management system or the software’s built-in media library to import and organize your files seamlessly. This will help you keep track of your footage and ensure that you can locate specific clips quickly.
When organizing your helmet camera footage, consider using descriptive file names and adding metadata tags. These tags can include details such as the date, location, or key moments captured in the clip. This information will make it easier for you to find specific footage later on.
Pro Tip: As you import and organize your footage, take the time to preview each clip to ensure that the quality is satisfactory and that it is relevant to your project. This will save you from going through unnecessary footage during the editing process.
By importing and organizing your helmet camera footage effectively, you can streamline your editing workflow and focus on creating captivating videos that truly showcase your adventures.

Benefits of Organizing Your Helmet Camera Footage:
- Efficient retrieval of specific clips
- Easy navigation through your footage library
- Time-saving during the editing process
- Improved overall organization and workflow
- Ability to locate relevant clips quickly
Organizing your helmet camera footage is like building a well-organized treasure trove of memories. With a systematic approach to import and organization, you’ll have a library that will make editing a breeze and help you create impressive videos.
Editing Techniques for Professional Helmet Camera Videos
Now that you have your footage organized, it’s time to dive into the editing process. In this section, we will explore professional editing techniques to help you enhance your helmet camera videos. These techniques will take your videos to the next level, making them stand out among the rest.
One of the first editing techniques for helmet camera footage is cutting and trimming unnecessary parts. By removing excess footage, you can create a more concise and engaging video. Focus on capturing the most exciting and captivating moments to keep your audience hooked.
Adding effects and transitions is another advanced editing technique that can elevate your helmet camera videos. Experiment with various effects, such as slow motion or time-lapse, to add variety and impact to your footage. Transition effects, like fades and wipes, can help smoothly connect different scenes and enhance the overall flow of your video.
When editing helmet camera footage, it’s important to keep the storytelling aspect in mind. Use the editing process to shape and craft a compelling narrative. Arrange your clips in a logical sequence, building up suspense or excitement, and ensuring a cohesive storyline.
As an additional tip, consider using color correction and grading techniques to enhance the visual appeal of your footage. These techniques can help improve the overall color balance and saturation levels, creating a more professional and polished look.
Remember, editing your helmet camera videos is also an opportunity to showcase your creativity. Don’t be afraid to experiment with different styles and approaches. Let your imagination run wild and try out new editing techniques to bring your vision to life.
Sample Editing Techniques for Helmet Camera Videos:
| Technique | Description |
|---|---|
| Cutting and Trimming | Remove unnecessary footage to create a more concise video. |
| Adding Effects | Experiment with effects like slow motion or time-lapse to add variety and impact. |
| Transitions | Smoothly connect scenes with transition effects for a seamless viewing experience. |
| Storytelling | Arrange clips in a logical sequence to create a compelling narrative. |
| Color Correction | Enhance the visual appeal by adjusting color balance and saturation. |
With these advanced editing techniques, you can transform your helmet camera footage into captivating videos that leave a lasting impression. Let your creativity shine, and don’t be afraid to experiment with different styles and effects.

Enhancing Your Helmet Camera Footage with Effects and Filters
When it comes to creating captivating helmet camera footage, adding effects and filters can truly make your videos stand out. By experimenting with various effects, you can add energy, excitement, and a professional touch to your action cam videos. Additionally, using filters can help correct fisheye distortion and enhance the overall look of your footage.
One effective way to add motion and dynamism to your videos is through the use of jump cuts, time-lapse, and speed ramps. Jump cuts create a sense of rapid action by removing unnecessary frames, while time-lapse can compress hours of footage into mesmerizing short clips. Speed ramps, on the other hand, enable you to control the speed and pacing of specific sections, adding drama and impact to your shots.
Filters are another powerful tool for enhancing your action cam videos. If your footage suffers from fisheye distortion, applying a lens correction filter can help straighten lines and create a more natural perspective. Additionally, adjusting color and exposure levels using filters can give your videos a polished and professional look.
To explore the creative possibilities of effects and filters, take some time to experiment with different styles and techniques. Each video project is unique, and the effects and filters you choose should align with your personal style and the story you want to tell. Don’t be afraid to let your creativity flow and push the boundaries of what’s possible.
Unlocking the Full Potential of Your Action Cam Videos
By enhancing your helmet camera footage with effects and filters, you can unlock the full potential of your action cam videos. Whether you’re showcasing high-octane sports or stunning travel adventures, adding these elements can elevate your videos to new heights of visual storytelling. Embrace your creativity, experiment with different techniques, and let your action cam videos captivate your audience with their dynamic and polished look.
Exporting and Sharing Your Edited Helmet Camera Videos
Once you’re satisfied with your edited helmet camera footage, it’s time to export and share your videos. This final step allows you to showcase your adrenaline-pumping adventures or breathtaking travel moments with others. Whether you want to share your videos online or transfer them to your smartphone for easy viewing, the options are endless.
First, choose the appropriate file format for your exported video, such as MP4, as it is widely supported across different platforms. This ensures compatibility and enables seamless playback on various devices. Next, select the desired settings for quality and resolution, keeping in mind the balance between file size and video quality.
If you prefer to showcase your videos on online platforms, consider uploading them directly. You can leverage popular video-sharing websites like YouTube, Vimeo, or Instagram to reach a wider audience. Remember to optimize your videos for each platform to ensure they look their best. This may involve following platform-specific video settings or considering factors such as aspect ratio and compression.
On the other hand, if you want to have your videos readily accessible on your smartphone, transferring them is a convenient option. Connect your smartphone to your computer using a USB cable and transfer the video files to your device’s storage. This way, you can enjoy watching your edited helmet camera videos on the go without relying on an internet connection.
Whichever method you choose, it’s essential to maintain the quality and integrity of your footage during the export and sharing process. Pay attention to any compression or conversion settings that may affect the final output. By doing so, you’ll ensure that your videos are visually engaging and true to the adventure you captured.
Now that your edited helmet camera videos are exported and shared, it’s time to sit back and enjoy the exhilarating moments you captured. Whether you decide to share your videos with the world or keep them as a personal memento, editing your helmet camera footage puts you in control of the narrative and allows you to relive those unforgettable experiences. So, grab your helmet camera and start editing today!
Conclusion
To edit your helmet camera footage like a pro, it takes a combination of technical skills, creativity, and the right tools. By following the tips and techniques outlined in this article, you’ll be able to elevate your videos and capture the thrill of your adventures. Remember to choose the right editing software that suits your needs and preferences. Consider factors like ease of use and compatibility with your camera.
After importing and organizing your footage, dive into the editing process, and master advanced techniques. Cut and trim unnecessary footage, experiment with effects and transitions, and explore different editing styles. Enhance your helmet camera footage with filters and motion effects to make it stand out.
Finally, when you’re satisfied with your edits, export your videos in the appropriate format and quality settings. Whether you’re uploading them online or transferring them to your smartphone, make sure they are optimized for the target platform.
With practice and experimentation, you’ll become proficient in editing your helmet camera footage. So, grab your camera, unleash your creativity, and start creating cinematic masterpieces that capture the essence of your adventures!
Source Links
- https://www.videoproc.com/gopro-video-processing/gopro-video-editing-tips-tutorials.htm
- https://www.kentfaith.com/blog/article_how-to-film-with-action-camera_11178
- https://www.magix.com/us/video-editor/action-cam-editing-software-tips-tricks/
Meet James Smith, affectionately known by friends as ‘Biker Smith’, your go-to expert at ‘Best HD Helmet Camera’. At 35, living in the USA, James embodies the spirit of adventure. His life is a thrilling ride, powered by his Harley Davidson Softail and BMW S 1000 RR, with his girlfriend as his favorite travel companion. A software developer by profession, James’s heart beats for the open road, making him a full-time traveler at heart. His passion for biking and technology merges seamlessly on this platform. Recognizing a gap in discussions around helmet cameras, he founded this blog to educate and inspire fellow enthusiasts. His mission? To elevate your riding experience with the best HD helmet camera insights, backed by firsthand experiences, rigorous testing, and a genuine love for the ride. Trust James to guide you through the world of helmet cameras, where quality, innovation, and safety ride together.